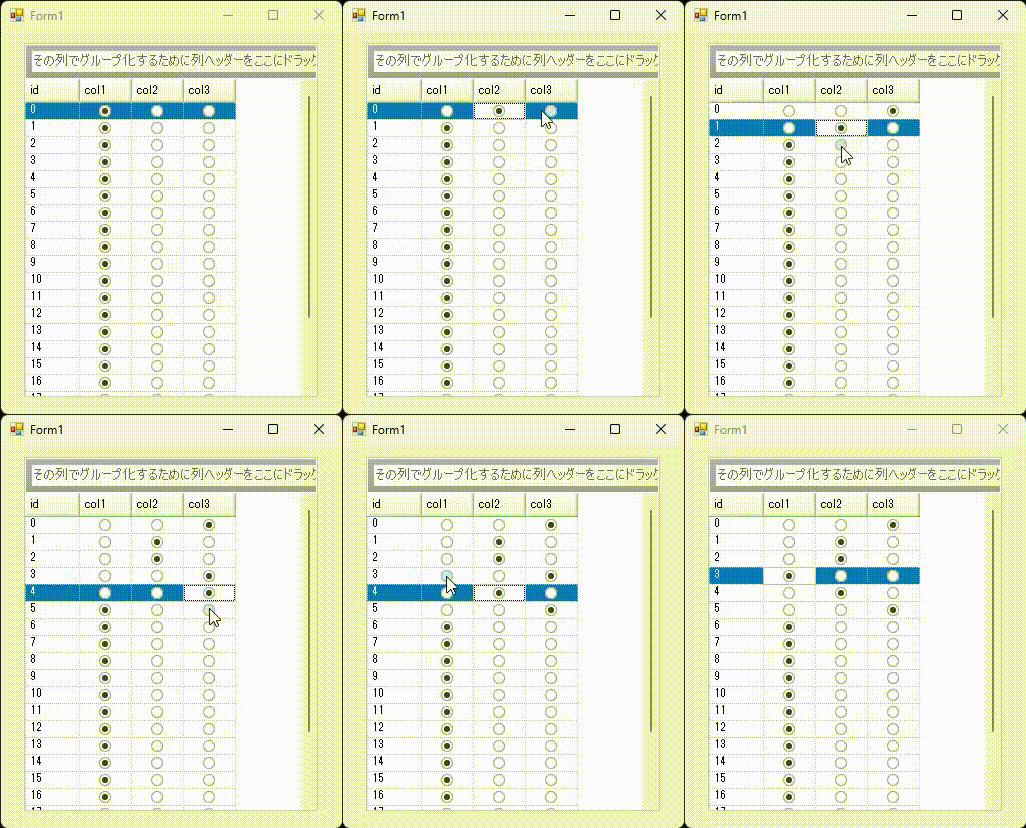
UltraGrid で、各行で一つだけ選択可能なラジオボタンの列を作成します。

まず、UltraCheckEditor をツールボックスからフォームにドラッグ・ドロップします。
UltraCheckEditor は規定の状態ではチェックボックスの外観をしていますが、GlyphInfo プロパティをOffice2013RadioButtonGlyphInfo と設定することにより、ラジオボタンの外観に変更できます。
UltraCheckEditor を以下のように設定します。
ultraCheckEditor1.Visible = false;
ultraCheckEditor1.GlyphInfo = UIElementDrawParams.Office2013RadioButtonGlyphInfo;
ultraCheckEditor1.Text = "";
ultraCheckEditor1.CheckAlign = ContentAlignment.MiddleCenter;
上記のように設定した UltraCheckEditor を、UltraGrid でラジオボタンを表示したい列の EditorComponent に設定します。
ここでは、三つの列 “col1″、 “col2″、”col3” に対してラジオボタンを表示するようにします。
string[] radioCols = new string[] { "col1", "col2", "col3" };

foreach (string colKey in radioCols)
{
	ultraGrid1.DisplayLayout.Bands[0].Columns[colKey].EditorComponent = ultraCheckEditor1;
}
最後に、UltraGrid の CellChange イベントをハンドリングし、行単位で排他的選択となるようセルの値を変更します。
private void ultraGrid1_CellChange(object sender, Infragistics.Win.UltraWinGrid.CellEventArgs e)
{
	if (e.Cell.Text == "True")
	{
		foreach (string colKey in radioCols)
		{
			if (e.Cell.Column.Key != colKey)
			{
				e.Cell.Row.Cells[colKey].Value = false;
			}
		}
	}
}